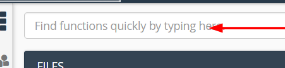
You can find it by typing "select" in the cPanel search bar, below is an image of the cPanel search bar, and the Select PHP Version
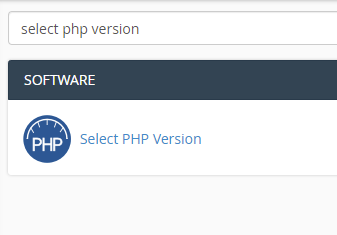
Click on Select PHP Version
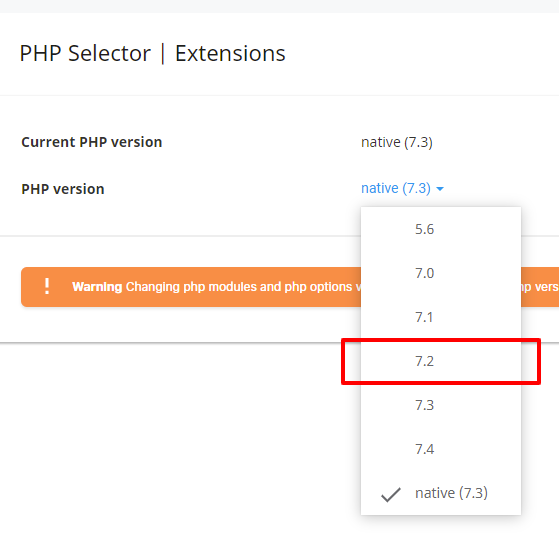
If you see that the current PHP Version shows " Native ", we need to switch it to a non native PHP Version. If it is already on a non native version. You can skip to Step
Click on the drop down arrow beside the PHP Version like shown below

Select a PHP Version you desire. If you are not so sure, just pick PHP Version 7.2
And then click set as current
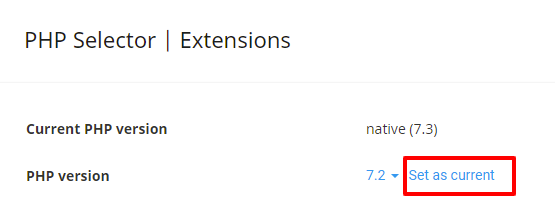
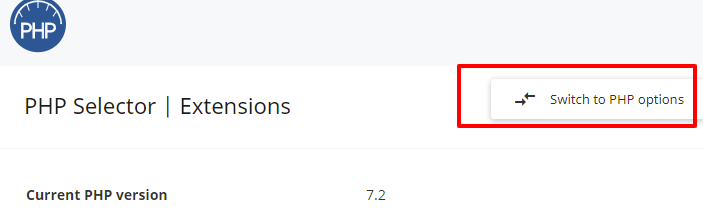
If everything is succesful, you will see that the current PHP Version no longer shows native, but shows the PHP Version you chose ( In this scenario, PHP Version 7.2 )

Now, on the right, click Switch to PHP Options
Step 5 : Change the upload_max_filesize
Click on the dropdown button beside the upload_max_filesize number

In this scenario, we will be picking 64 MB ( You can choose any other size you wish )

After clicking on the file size you want, the upload_max_filesize will be updated like below :

You will now be able to upload files via Wordpress or other PHP Applications up to the max filesize that you have selected
This article was last updated on 29th February 2020