NEWS : 23 January 2026 Updated Privacy Policy,
STEP 1 : Login to Direct Admin ( Guide here )
STEP 2 : Navigate to Email Manager -> MX Records. Click on MX Records

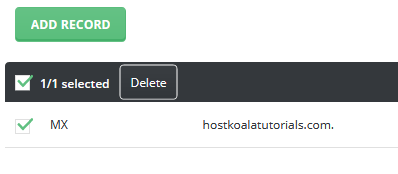
STEP 3 : Delete any existing record(s) by ticking the text box beside the old MX Record, and clicking delete.

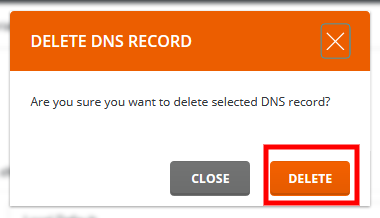
STEP 4 : When prompted to confirm deletion of old DNS records, click confirm

STEP 5 : Repeat step 3 & 4 until no old MX Records are remaining. This is too prevent any mismatched MX Records
STEP 6 : Click on Add record

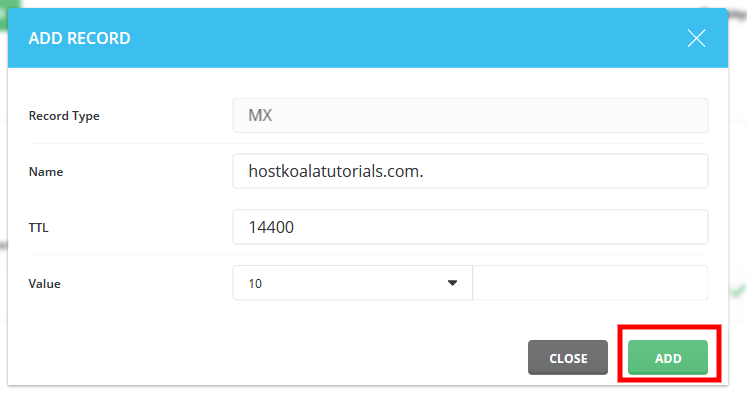
STEP 7 : Input the record according to your Mail Server settings

Name : Use your custom mail server hostname here. In general, it will be something like mail.emailservice.com or smtp.emailservice.com
TTL : Leave as default
Value : Follow your mail servers recommendation. If unsure, leave as 10
After that, click Add. And the MX Record will be added.
You can repeat Step 6, until all the MX records are added.